Action Button in UI and Cell Evaluation
A ready-to-go example is available in this repository.
Clone it to <Documents>/WLJS Notebooks/Extensions/ using:
git clone https://github.com/JerryI/wljs-plugin-example-2
Then restart WLJS Notebook.
Folder name of the extension must match with its unique name
In this short tutorial, we will discuss how to add a basic UI element to the WLJS Notebook interface and cover some fundamentals of cell evaluation. In general, we need to create a package for the main kernel.
Summary
This tutorial will cover:
- Creating a package for the main kernel that adds a new UI action button and a handler function to evaluate all cells in a notebook.
- Writing a UI action button template using WLX.
- Adding a native top-menu button that duplicates the action of the UI button.
Preparations
Use wljs-plugin-template template and create a new repository or use a ready-to-go example given in the heading of this tutorial.
Next, edit the contents of package.json:
{
    "name": "wljs-plugin-example-2",
    "version": "0.0.1",
    "description": "An example plugin for WLJS Notebook",
    "wljs-meta": {
        "frontend": ["src/Frontend.wl"],
        "priority": 5000,
        "category": "Notebook Extensions",
        "menu": [
            {
                "label": "Example Button Evaluate",
                "event": "example-eval-all",
                "spawnWindow": false,
                "type": "button"
            }
        ]
    },
    "repository": {
        "type": "git",
        "url": "https://github.com/JerryI/wljs-plugin-example-2"
    },
    "dependencies": {
        "@rollup/plugin-commonjs": "^25.0.4",
        "@rollup/plugin-json": "^6.0.0",
        "@rollup/plugin-node-resolve": "^15.2.1",
        "@rollup/plugin-terser": "^0.4.4",
        "rollup": "^3.21.6"
    }
}
This defines an action button placed in the top-bar menu. When clicked, it triggers the example-eval-all event in the global event pool, which we will handle later.
Main Kernel Package
UI Element
To inject new UI elements, we use the CoffeeLiqueur`Notebook`AppExtensions` interface:
BeginPackage["CoffeeLiqueur`Extensions`EvalAllButton`", {
    "JerryI`Misc`Events`",
    "JerryI`Misc`Events`Promise`",
    "JerryI`WLX`Importer`",
    "JerryI`WLX`WebUI`"
}]

Needs["CoffeeLiqueur`Notebook`AppExtensions`" -> "AppExtensions`"];

Begin["`Private`"]

rootFolder = $InputFileName // DirectoryName // ParentDirectory;

buttonTemplate = ImportComponent[FileNameJoin[{rootFolder, "templates", "Button.wlx"}]];

AppExtensions`TemplateInjection["AppNotebookTopBar"] = buttonTemplate[##, "HandlerFunction" -> processRequest]&;

End[]
EndPackage[]
The packages:
JerryI`Misc`Events`
JerryI`Misc`Events`Promise`
are used for event handling. The new UI element is injected via:
AppExtensions`TemplateInjection["AppNotebookTopBar"] = buttonTemplate[##, "HandlerFunction" -> processRequest]&;
Creating the Button
A more convenient way to create UI elements is through WLX. We include the necessary contexts:
JerryI`WLX`Importer`,
JerryI`WLX`WebUI`
Now, let's create our button:
Component[OptionsPattern[]] := With[{
    messager = OptionValue["Messanger"],
    globalControls = OptionValue["Controls"],
    appEvents = OptionValue["AppEvent"],
    modals = OptionValue["Modals"],
    UId = CreateUUID[],
    listener = CreateUUID[],
    processRequest = OptionValue["HandlerFunction"]
},

    EventHandler[listener, {
        "Button" -> Function[Null,
            processRequest[globalControls, modals, messager, Global`$Client (*`*)]
        ]
    }];

    EventHandler[EventClone[globalControls], {
        "example-eval-all" -> Function[Null, processRequest[globalControls, modals, messager, Global`$Client (*`*)]]
    }];

    {
        <button title="Evaluate all" id="{UId}" class="text-red-400 hover:bg-gray-50 dark:hover:bg-gray-700 rounded-md w-6 h-6">
            <svg class="w-5 h-5" viewBox="0 0 16 16" xmlns="http://www.w3.org/2000/svg" fill="currentColor">
                <path d="M2.78 2L2 2.41v12l.78.42 9-6V8l-9-6zM3 13.48V3.35l7.6 5.07L3 13.48z"/>
                <path fill-rule="evenodd" clip-rule="evenodd" d="M6 14.683l8.78-5.853V8L6 2.147V3.35l7.6 5.07L6 13.48v1.203z"/>
            </svg>
        </button>,
        <WebUIEventListener Type={"click"} Id={UId} Pattern={"Button"} Event={listener} />
    }
]

Options[Component] = {"Controls"->"", "AppEvent"->"", "Modals"->"", "HandlerFunction" -> Print};

Component
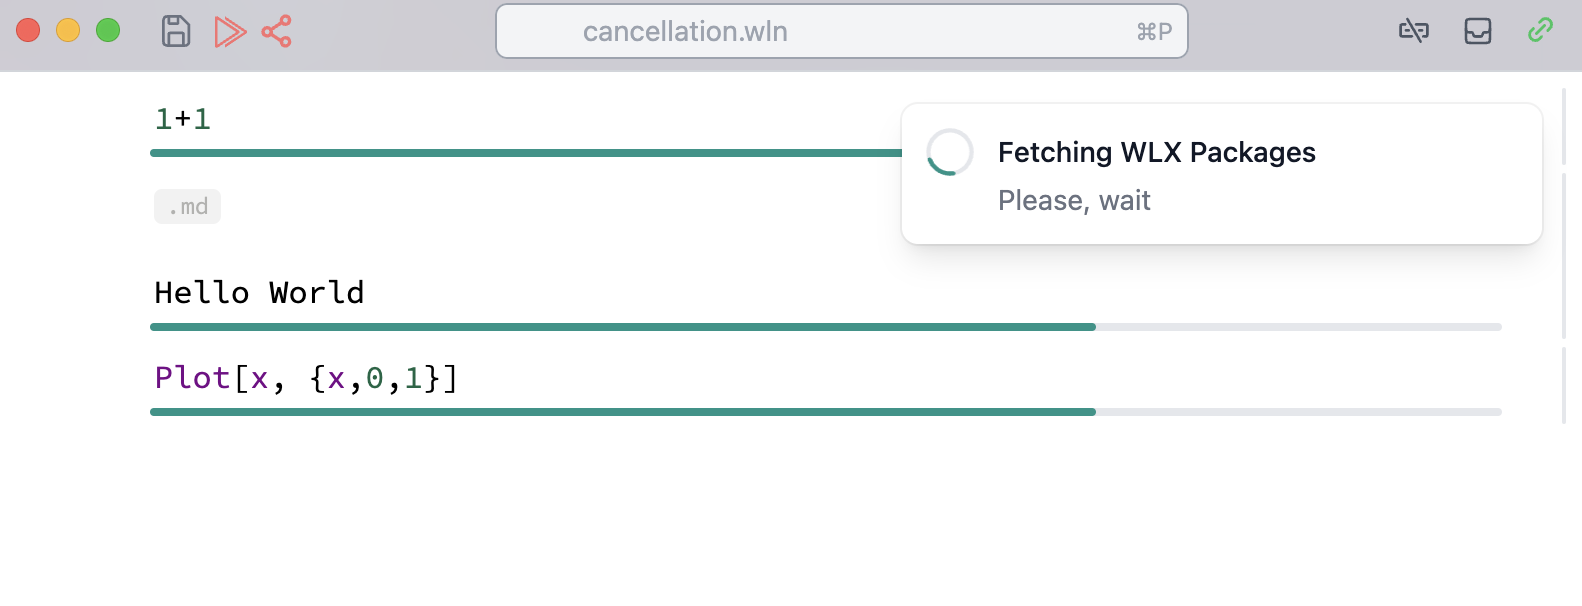
After restarting the app, you should see a new icon in the top bar and a new menu item.
Processing cells
As it was mentioned, we want to evaluate all cells, when a user clicks on an icon. Let us go back to Frontend.wl and add more packages to work with cells and notebooks
Needs["CoffeeLiqueur`Notebook`Cells`" -> "cell`"];
Needs["CoffeeLiqueur`Notebook`" -> "nb`"];
Next define processRequest
processRequest[globalControls_String, modals_String, messager_String, client_] := With[{
    notebookOnline = findNotebook[globalControls]
},

...
To find a notebook available in the current window one can echo-locate it using a global controls event pool
findNotebook[messagesPort_] := EventFire[messagesPort, "NotebookQ", True] /. {{___, n_nb`NotebookObj, ___} :> n};
If at least one notebook component is attached to the global events network, it will respond to this pattern.
Then we can sort out input cells and synchronously one by another
processRequest[globalControls_String, modals_String, messager_String, client_] := With[{
    notebookOnline = findNotebook[globalControls]
},
    If[!MatchQ[notebookOnline, _nb`NotebookObj],
        EvetFire[messager, "Warning", "No active notebooks"];
        Return[];
    ];

    Echo["Processing!"];

    With[{
        inputCells = Select[notebookOnline["Cells"], cell`InputCellQ]
    },

        (* If you don't want to handle Kernel requests and prepare the rest -> use Notebooks public API *)
        runNext[inputCells, Function[cell, EventFire[globalControls, "NotebookCellEvaluate", cell] ] ];
    ]
]

runNext[l_List, f_] := With[{rest = Drop[l, 1]},
    Then[f[l // First], Function[Null,
        runNext[rest, f]
    ] ]
] /; Length[l] > 0

runNext[_List, f_] := Echo["Done!"];
We took a shortcut here. To avoid complexity with requesting kernels, showing dialogs we evaluate cells indirectly using Notebook API interface by firing pattern
EventFire[globalControls, "NotebookCellEvaluate", cell] _Promise
as a result an attached notebook (if any) on the events network returns Promise, which we can handle using Then and propagate to other cell and etc. Global controls event network interconnects modules and temporary exposes end-points of different services.
Full source code can be found in this repository